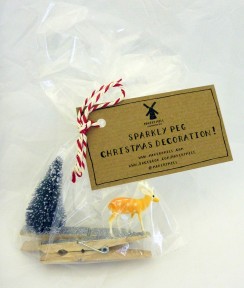
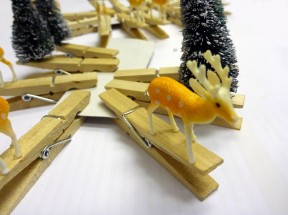
These little pegs are so cute! They can be used to decorate a special present, and then sit just as happily on the Christmas tree itself.
We decided to use these gorgeous little deer, which we bought from Dawanda, and snowy trees, which we found at the local cake decoration shop.
You will need:
- Wooden pegs
- Plastic decorations of your choice
- Nail polish (either clear only, or colour + clear)
- Glitters!
The trees:
First, you will need to carefully create a hole at the end of the peg. We used a wood drill bit, but a hand drill, gimlet or long screw may also work well.
Our trees had an exposed piece of wire at their base – about 4mm. Push the wire into the hole.
Using a glue gun, apply glue into the opposite side of the hole. Be generous!
The deer:
Simply use the glue gun to apply glue to the hooves. Then quickly position to deer into place on the peg – before the glue starts to set!
Make them sparkle:
Paint the top surface with a generous layer of nail polish. Immediately sprinkle your chosen glitter.
Try experimenting with different colours of polish and glitter.
After an hour, give the glitter a top coat of clear nail polish. Some of the glitter will move about, but do not worry. This top layer of polish sets everything in place so that glitter stays on the peg and will last!


