Wedding craft ideas

Well I’ve been reminiscing as my anniversary is fast approaching. My husband and I had a lovely spring wedding in Warwick and Leamington two years ago, so as soon as the blossom arrives on the trees I get that feeling of anticipation.

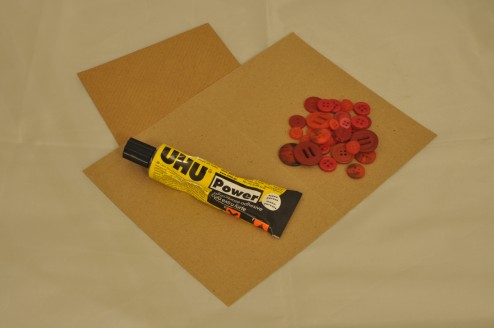
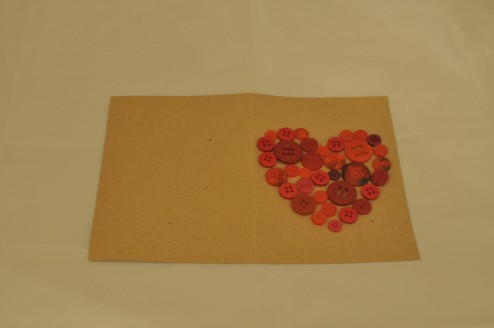
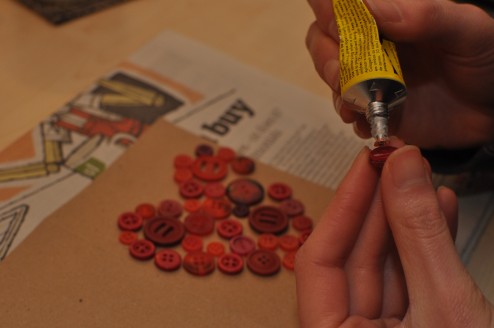
At the wedding of two designers you would expect some creativity, and we had lots of hand-made touches. In case you are searching for wedding craft ideas, I thought I’d share a couple with you! Here are some hand made wedding crafts from our big day…

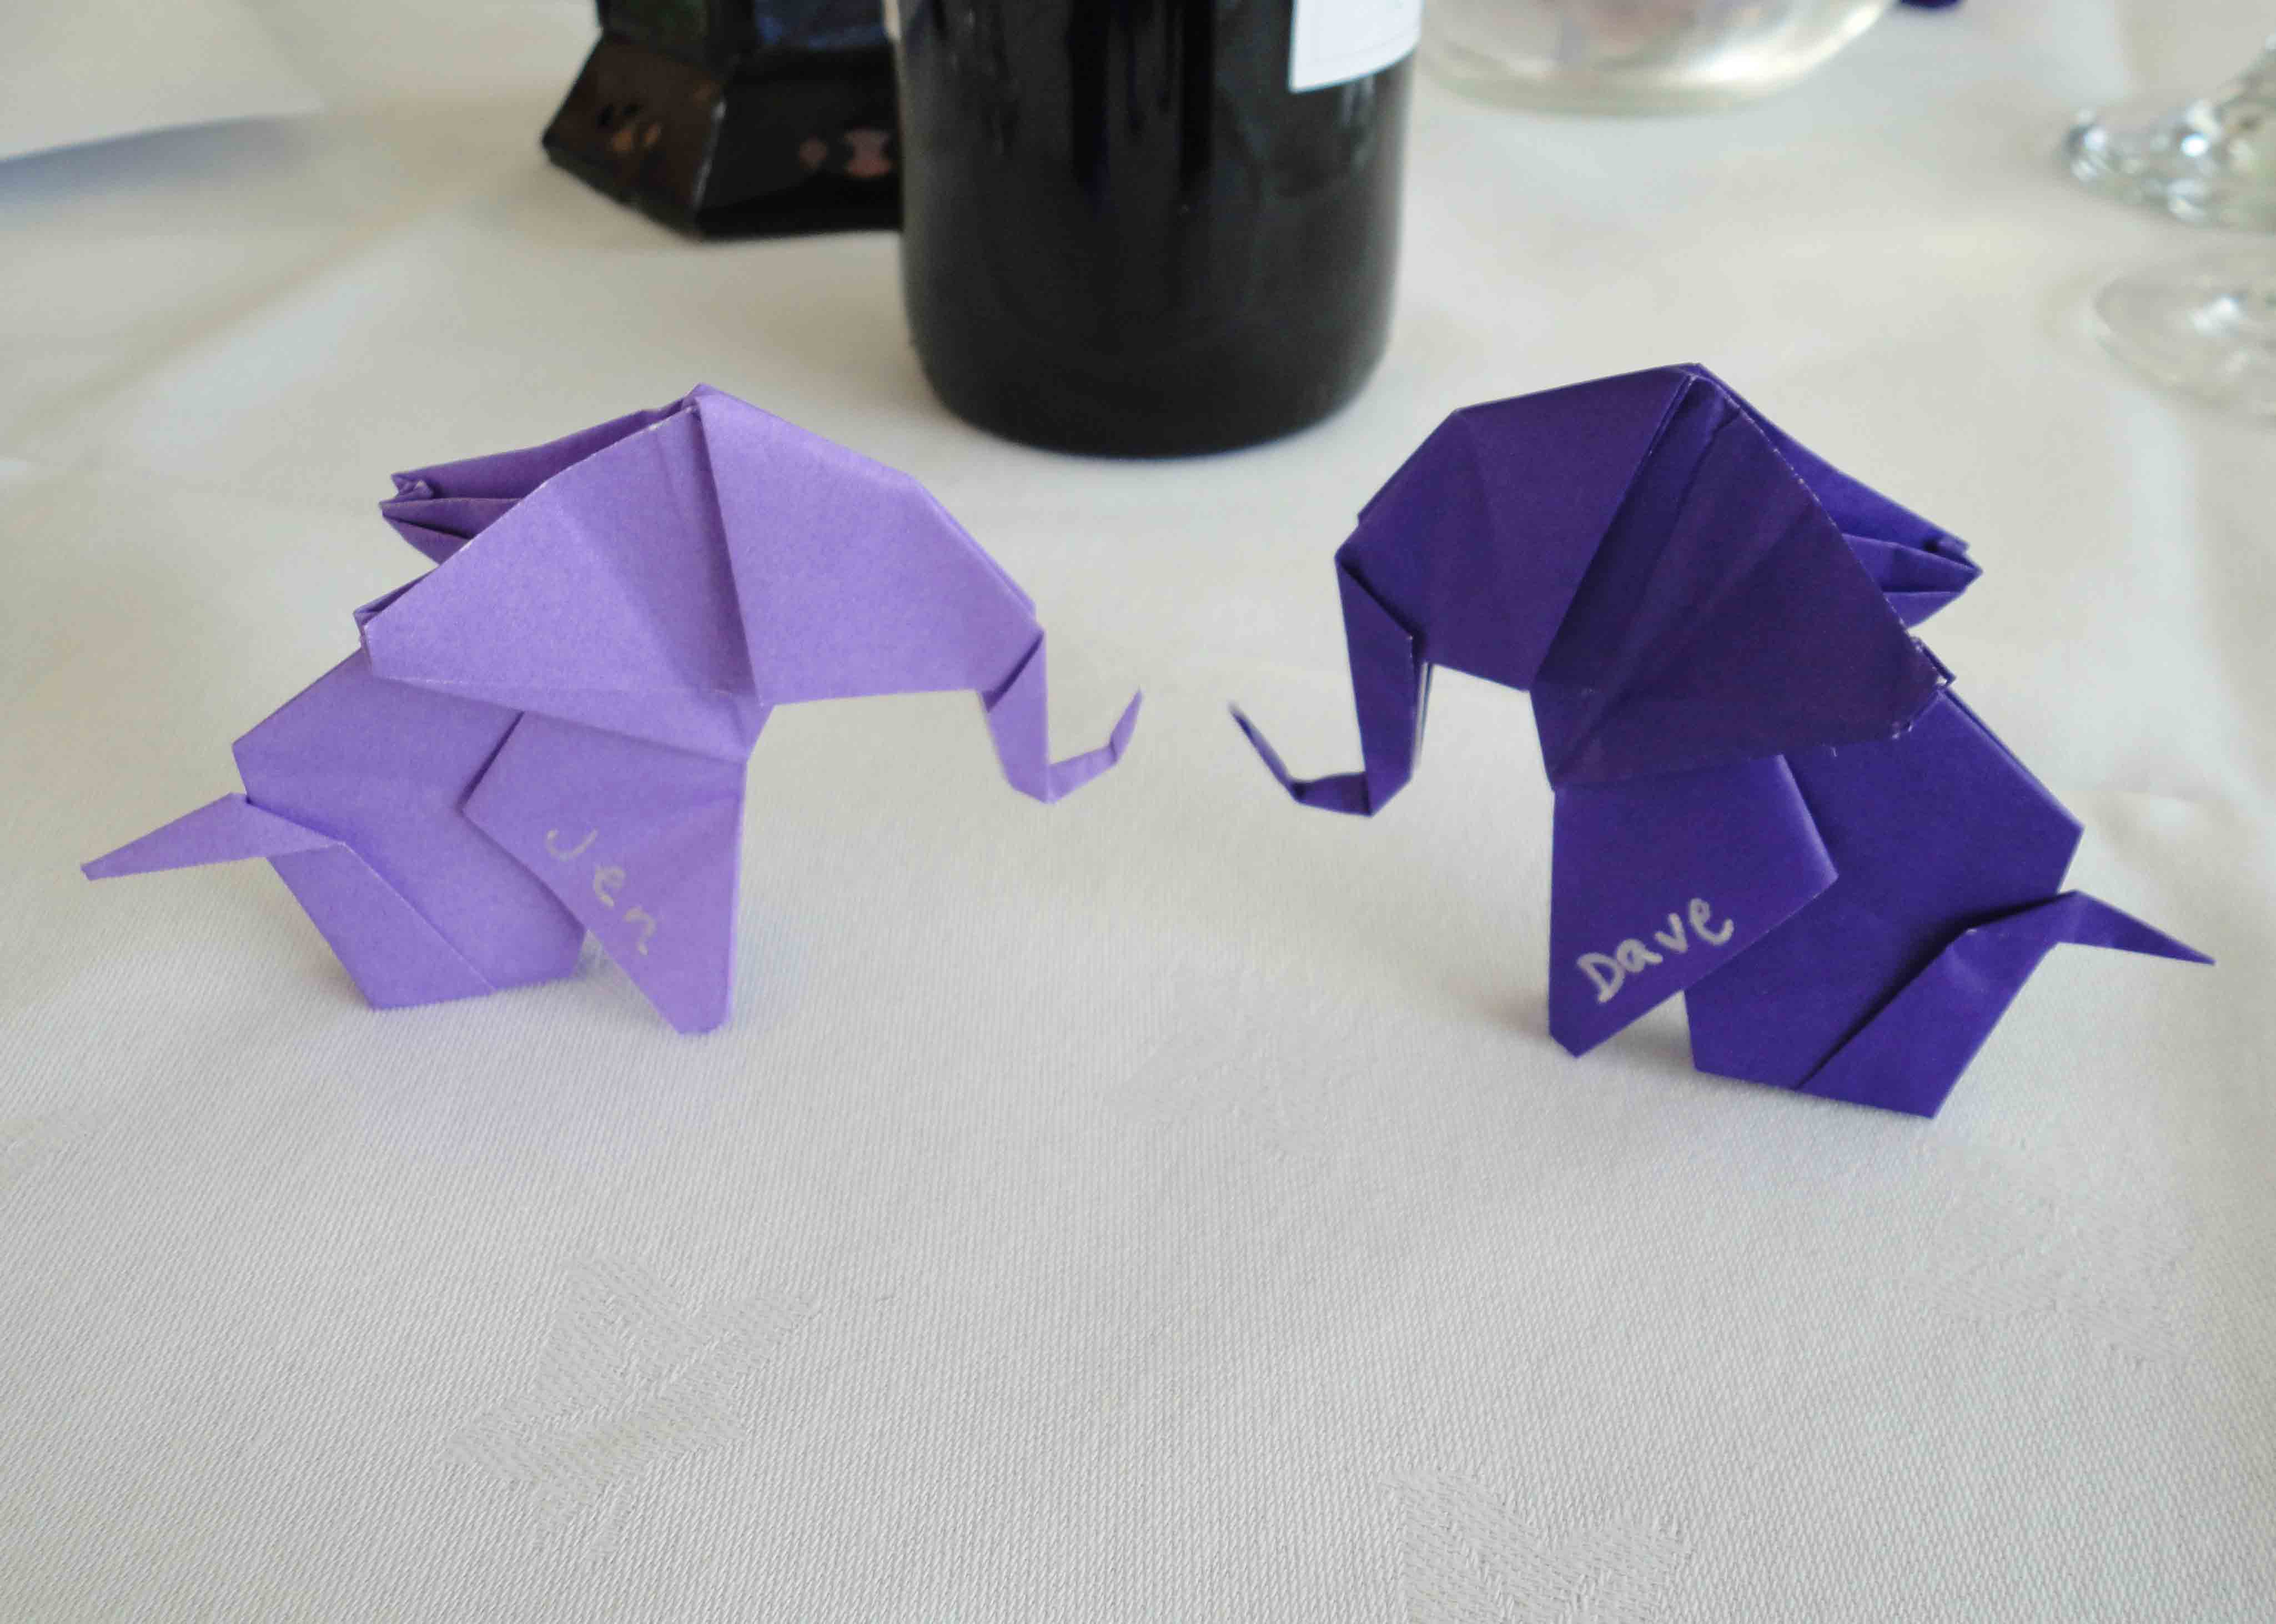
Place holders – Origami elephants!

trough

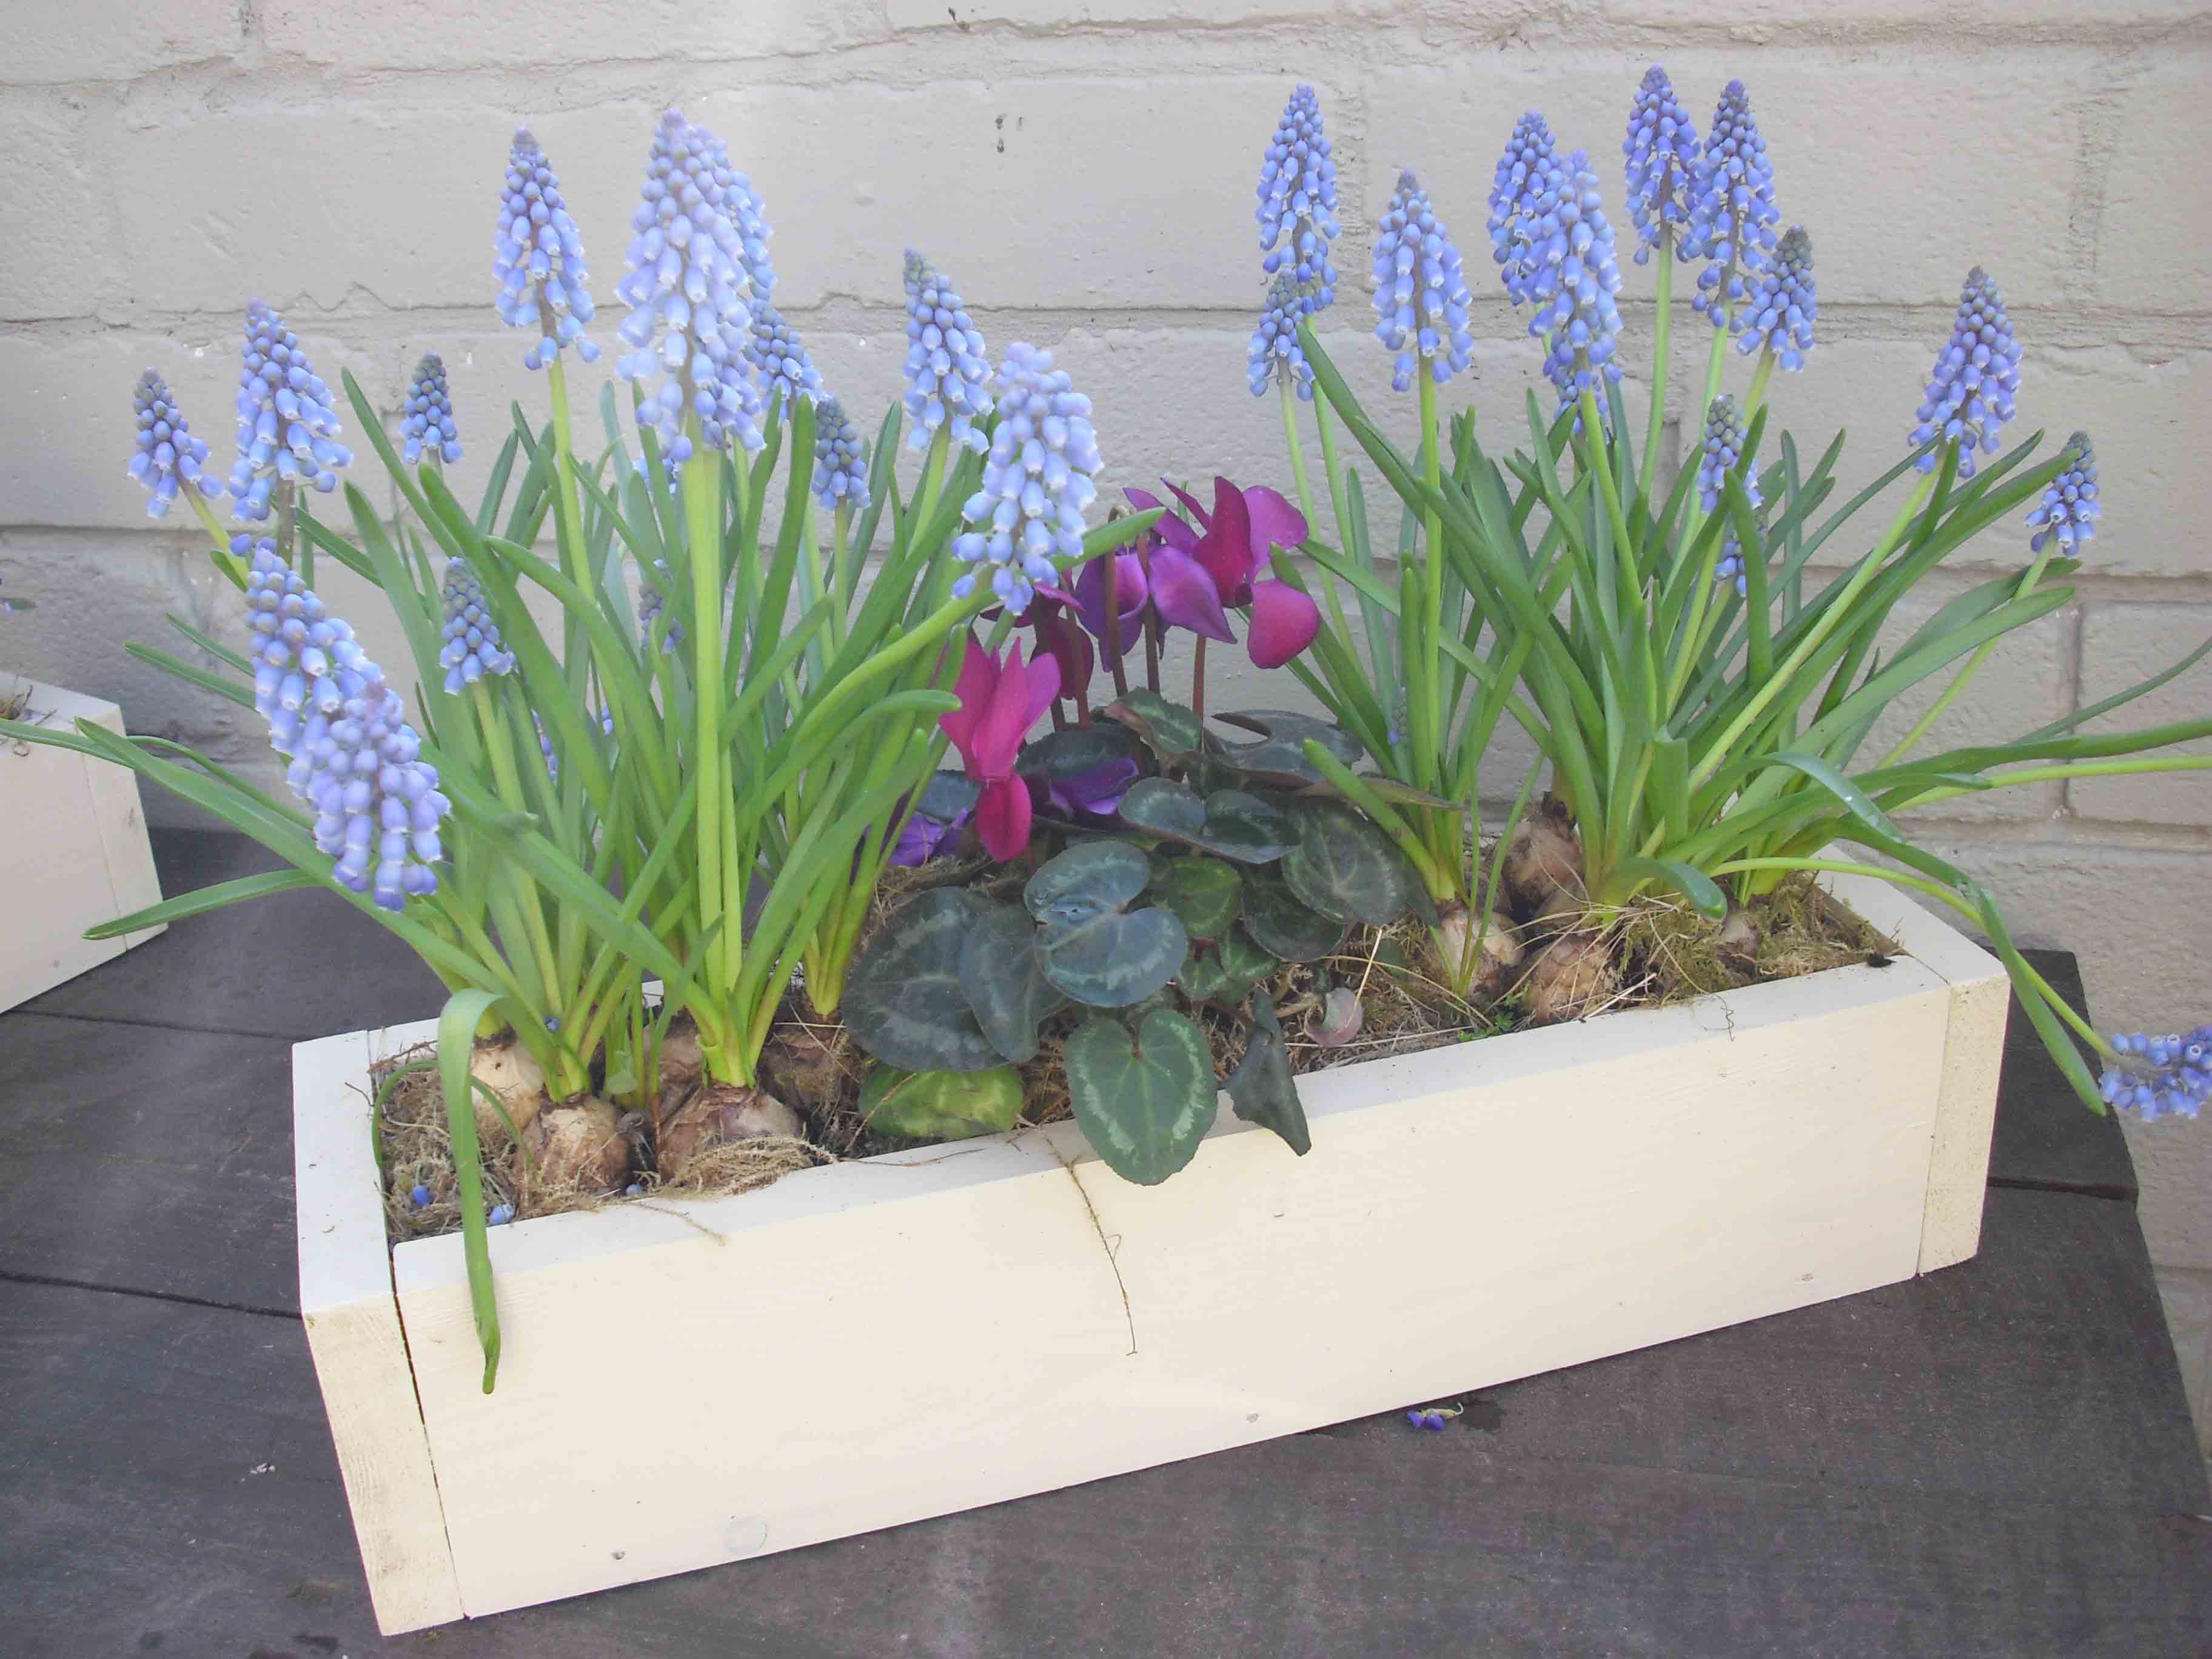
Table Centrepieces – home-made troughs with spring bulbs

Table Plan – postcards
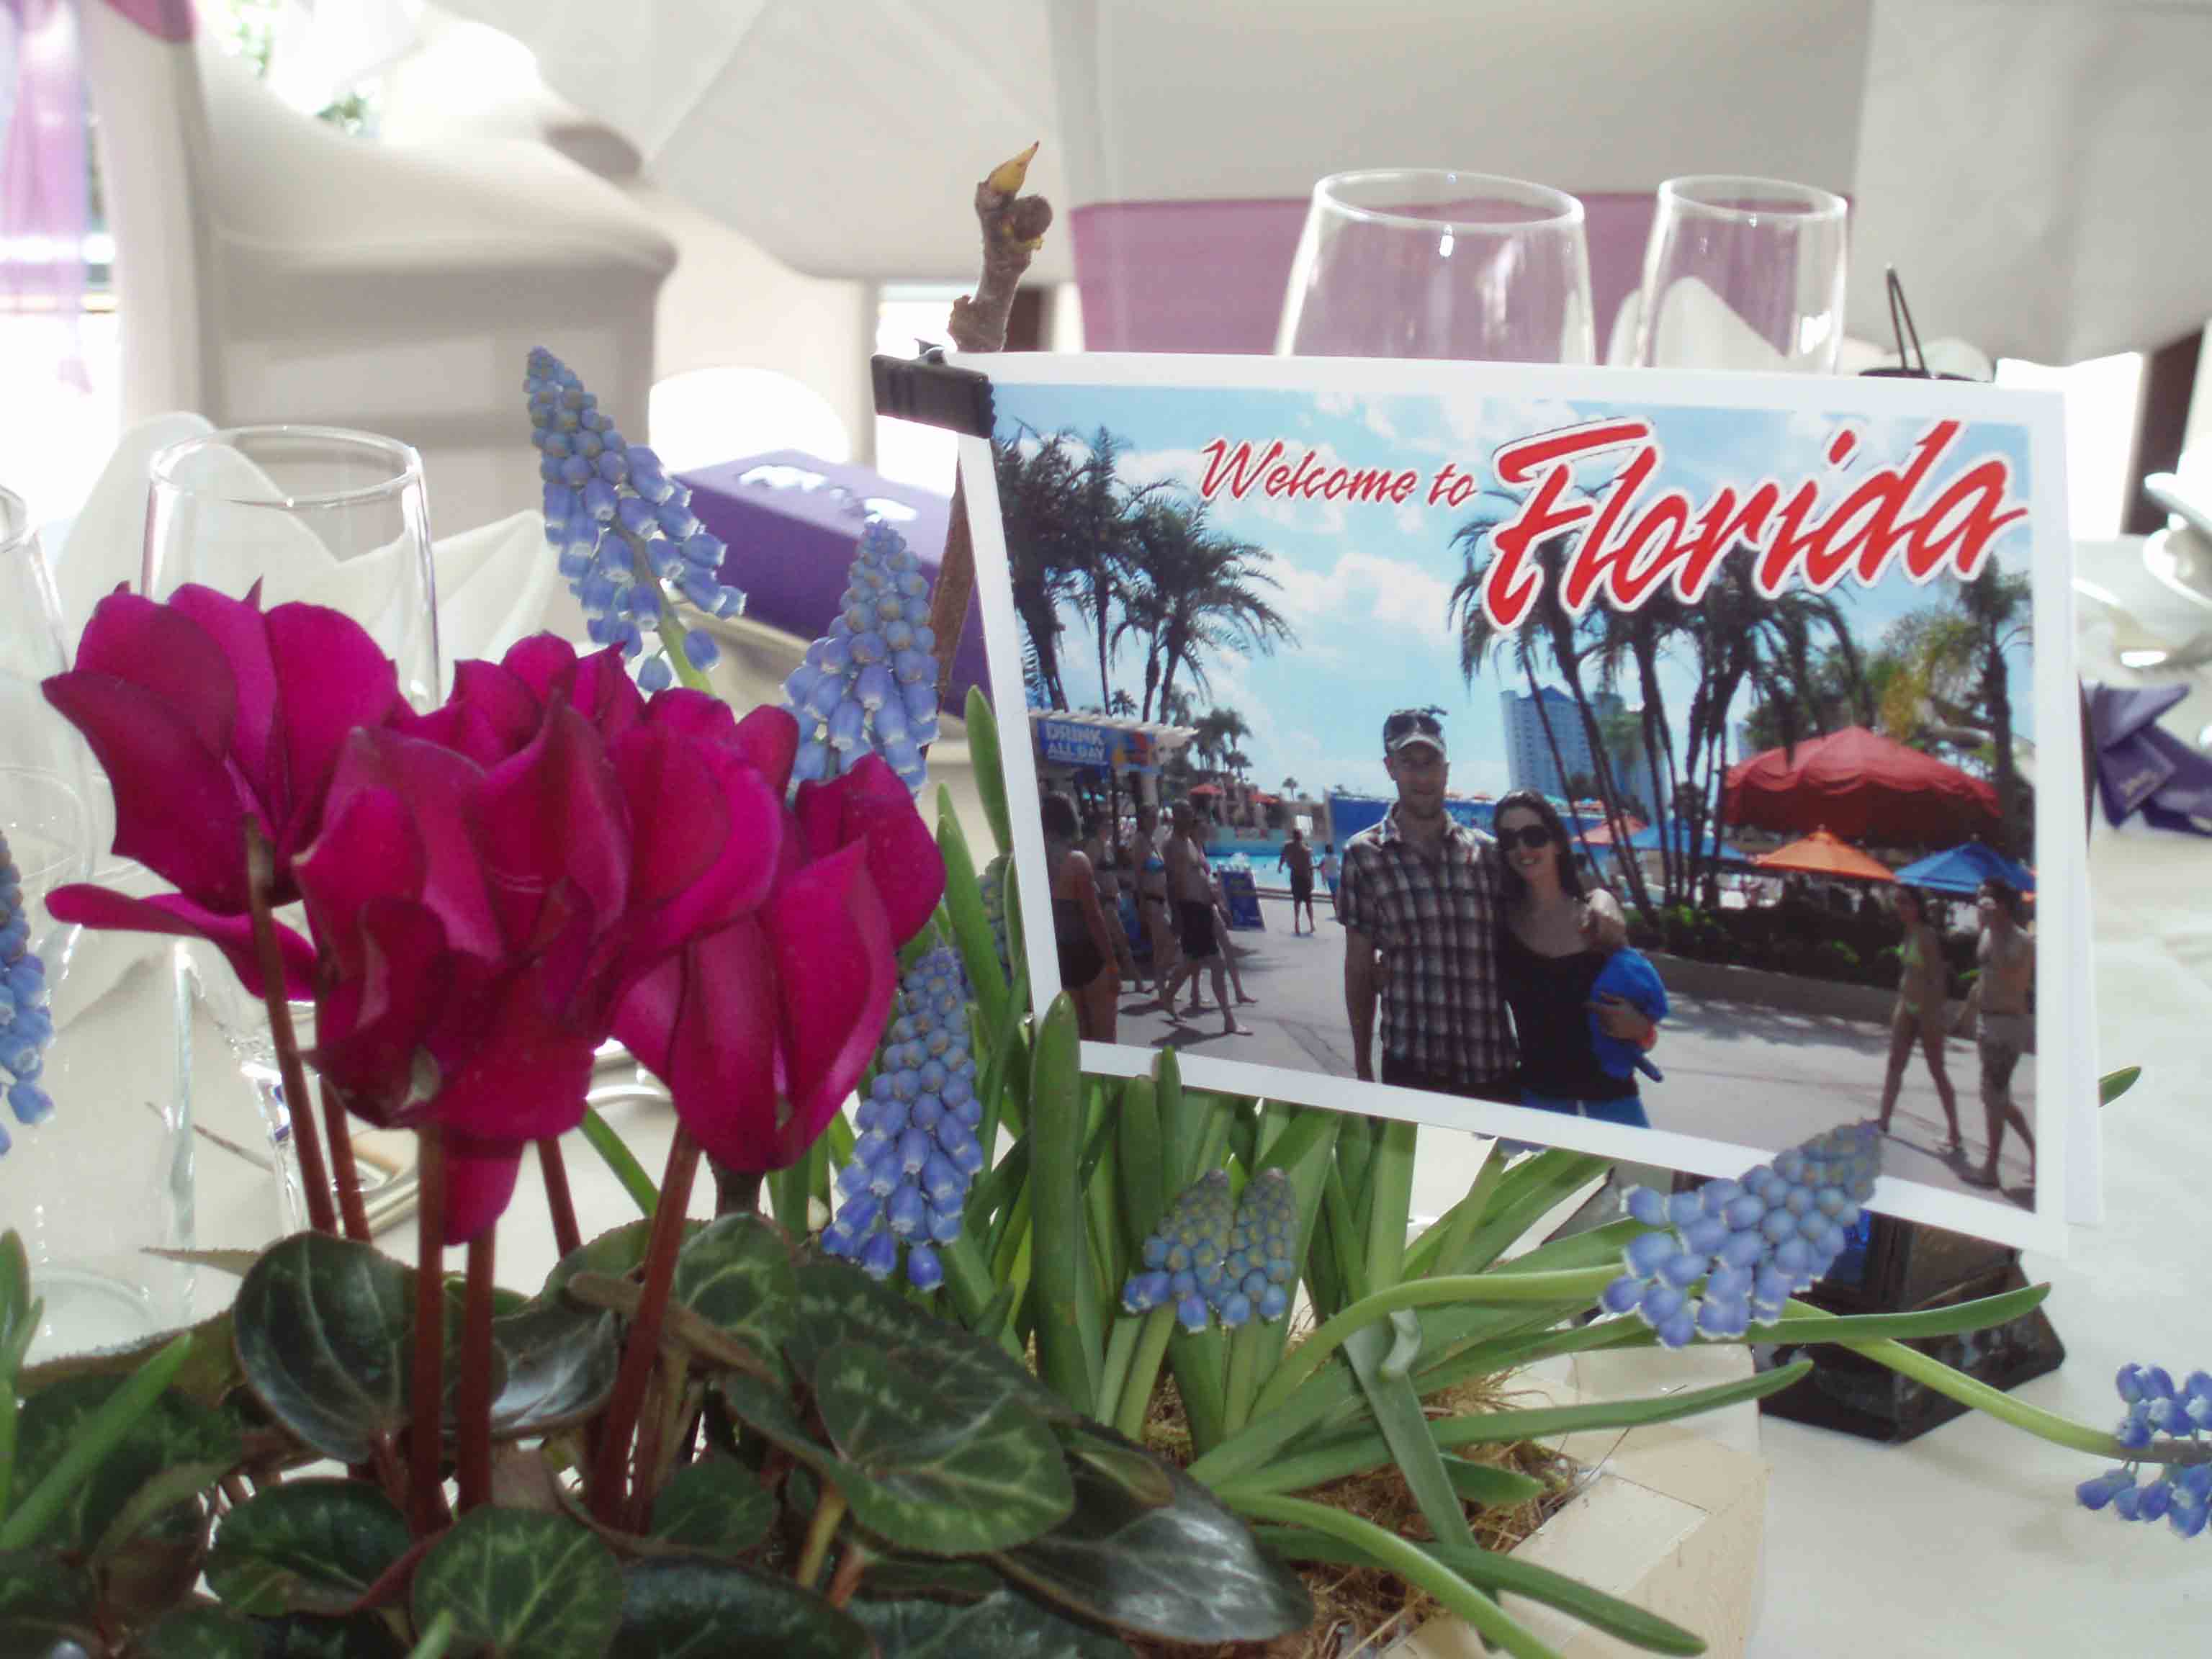
OLYMPUS DIGITAL CAMERA

Table postcard

Cupcake Decorating Classes

Cupcake decorating workshop
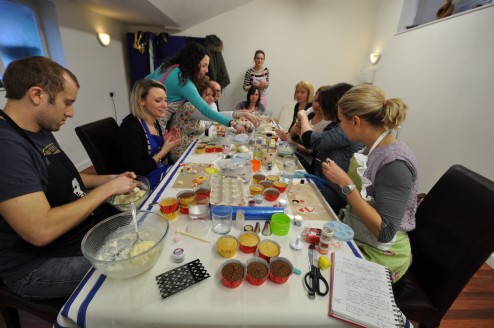
We are excited at Makery Mill to announce our first workshops…cupcake decorating! Our cake expert, Becky, owner of
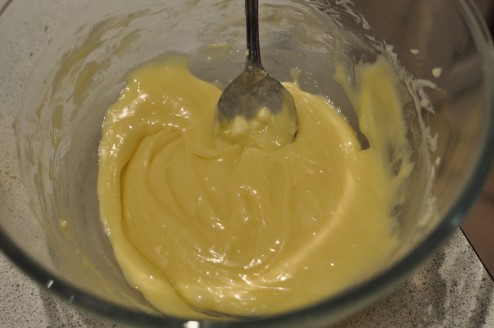
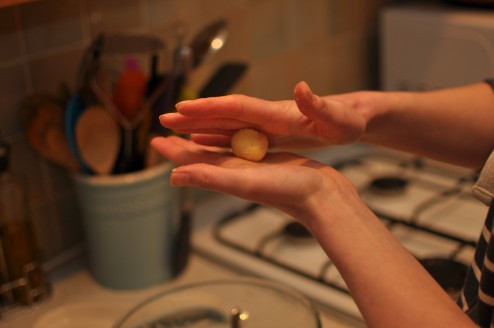
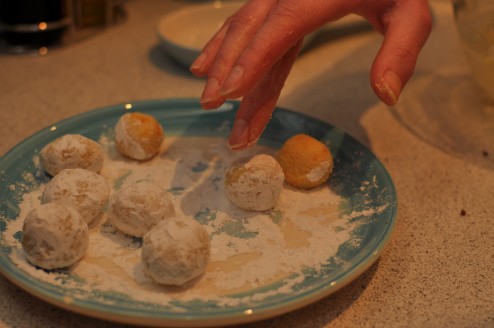
 Little Miss Cupcakes, will be sharing her baking knowledge and decorating skills with you in our two hour classes so you will (hopefully!) come out with some amazing, professional looking cupcakes that you can show off to your friends and family! You can find the details and current dates for the classes on our Workshops page, keep an eye out for more dates coming soon too. All our classes will be hosted at our lovely studio in Leamington Spa, Warwickshire. It is centrally located with Warwick, Coventry, Kenilworth and Stratford-upon-Avon all within a 25 minute drive.

If you would like to book a cupcake party for adults or children then please get in touch. We offer bespoke packages for birthdays, hen parties, corporate team building and much more; we are happy to theme the party if you wish as well. A possible child’s party package could include 1.5 hours of cupcake decorating (piping, making sugar decorations etc) followed by an afternoon tea with lots of sweet baked goodies and fun party games. For hen parties you would be decorating six cupcakes with specially themed decorations (think L plates, handcuffs and sugar willies!!) whilst enjoying some party games and lots of bubbly!

We hope to see you soon :) x

DIY Tutorial – Valentine’s Button Heart Card

Hi everyone! It’s a little late in the day but if you have just realised you don’t have a Valentine’s card to give your loved one tomorrow morning…do not fret, if you have a few buttons, some glue and card hanging around, we can help you transform them into a pretty, unique card!

DSC_2739You will need:

  • A5 piece of card or similar size
  • Buttons – we used around 35 of varying sizes, but this depends on what size you want the heart to be
  • Strong glue – we used UHU
  • A pencil

Directions

Step 1
Fold your piece of card in half. Assemble the glue and buttons and place the newspaper on the table.
Step 2
Arrange the buttons in a heart shape on the card. You may want to draw an outline with a pencil so you have a guide.
Step 3
Rub the pencil outline out if necessary. Start sticking the buttons down. Put a little strong glue on a button and press it down firmly for 30-60 seconds on the desired spot.
Step 4
Continue glueing and adding all the buttons until the heart is complete. Place a heavy book on the heart to ensure all the buttons are secure.

I also made a very quick gift tag using kraft brown card, coloured paper, paper glue and some ribbon. Cut out a gift tag shape from the card, holepunch a single hole in the top and thread through some pretty ribbon. Cut out a heart from some coloured paper and glue it onto the card. Simple as that! :)

Happy Valentine’s Day x


Mini DIY tutorial – cut out card

Hello!

This is just a mini tutorial for those of you who need some last minute Valentines craft inspiration… Laser-cut cards are all the rage at the moment, but how about creating one of your own? The key is in the preparation..

This style of card can be made for any occasion, use contrasting colours to make it more striking!

MM cut out card


cut out card steps copy

You will need:

Cutting mat

A sharp knife

Appropriate paper/card (the thicker it is, the longer it will take)

Pencil and paper


Instructions:

Draw out your graphic making sure that everything touches something else, the more detail and connections you add, the better the card will stay together, but the longer it will take to cut!

Copy the outlines of the graphic across to the card surface.

Carefully take time to cut away the negative space on your design.

Mount onto an inner card.

Give to your loved one! 

DIY Tutorial – Valentine’s Truffles

Continuing our series of posts on Valentine’s Day, I’ve put together a tutorial on some yummy chocolate biscuit truffles I made last week. The crushed biscuits add a different texture to your standard creamy truffles plus the orange zest adds a lovely tang! We loved them here at the Makery Mill and I’m sure your other half, friends or family would enjoy them too!

Chocolate Biscuit Truffles

Serves Makes around 30
Prep time 30 minutes
Cook time 3 minutes
Total time 33 minutes
Website adapted from BBC Good Food
Chocolate biscuit truffles with a orangey tang, a perfect gift for Valentine's Day

Ingredients

  • 150g double cream
  • 150g white chocolate (cut/broken into very small pieces)
  • 150g dark chocolate (cut/broken into very small pieces)
  • 50g unsalted butter
  • 3-4 shortbread biscuits (crumbled roughly)
  • 1 orange (zest only)
  • icing sugar (for rolling)
  • cocoa powder (for rolling)

Note

We used Bournville chocolate for the dark truffles as it has a good balance between sweetness and cocoa flavour. Keep an eye on the cream, as soon as it is coming to boiling point, take it off the heat or it may curdle and go lumpy.

Rolling the truffles is a very messy job! Take the mixtures out of the fridge just before you're going to start rolling so they are as cold as possible. We found that having a bit of icing sugar or cocoa on our hands helped to stop the extreme stickiness! If the mixture becomes too soft and difficult to handle, pop it back in the fridge for 30 mins.

The truffles should be kept in the fridge and they stayed fresh for 2-3 days.

Directions

Step 1
Put the cream into a small pan and gently bring just to a boil. Put the dark chocolate and half the butter into one bowl, and the white chocolate and the rest of the butter in another bowl. Tip half of the cream over each bowl and leave for 1 minute.
Step 2
Stir until smooth. If the chocolate hasn't fully melted, put it in the microwave for 5-10 seconds until it is smooth. Leave to cool.
Step 3
Divide the shortbread and orange zest between the two bowls and stir. Cover the bowls and place in the fridge for 4 hours.
Step 4
Sift icing sugar onto a plate, and cocoa onto a separate plate. Scoop out about a teaspoon's worth of the chocolate mixture and gently roll into a ball. Continue until you have used all the truffle mixture.
Step 5
Roll the truffles in cocoa or icing sugar. We placed our truffles in little red petit fours cases then presented then in a gift box.

These would work really well as wedding favours in little boxes too! B x