Leamington Observer article!

Leamington Observer articleCheck out Sophie and I in the Leamington Observer with our button and paper crafts! We still have places left for our workshop on Sunday so book your place here if you fancy getting crafty! We’re doing a special offer for our Facebook fans at the mo – if you ‘like’ our page, you can get 10% off this class or our cupcake decorating workshops.

Hope to see you there, Becky x

New Cupcake and Craft Workshop Dates

Hi everyone!

We have been a bit quiet for the past few weeks putting together our first newsletter and also finalising some new cupcake and craft workshop dates which we’re very pleased to announce to you now! Over the next couple of months we’ve got cupcake decorating classes and our new class – button and paper crafts – in the diary, please take a look here for more details and to book a place.

We’re really excited about running our paper and button workshop as we think it’s pretty unique in the Warwickshire area and gives class members a real chance to unlease their creativity in a fun, sociable environment. The DIY and customising trend is massive at the moment with everyone looking to save a few pennies and also learn new skills. Our class will show you how you can make greetings cards and gifts look extra special with button and paper flower embellishments plus we’ll be sharing the ins and outs of making a beautiful button picture which would make an amazing personal gift for family and friends or just look great on your wall at home!

  • Composing your design
  • Pinwheel with button

Our summer calendar is starting to fill up with hen party bookings and children’s parties so if you fancy something a little different for a celebration this year, email us for more info on our Makery Mill party packages. We’re currently in talks with two local businesses in Leamington and Kenilworth about joining Makery Mill and sharing their skills in exclusive workshops… look out for more news coming soon!

That’s all for now, remember to ‘like’ our Facebook page or follow us on Twitter for all the latest news and special offers!

B x

Easter Egg Hunt and Painting

Just a week ago we were hunting for chocolate goodies, getting creative with eggs and enjoying roast dinners aplenty! Here’s a few pics from my Easter weekend, as you can see we made some pretty crazy eggs, including a snake emerging from the shell!! Interesting.. We also tried out a few of the painting techniques we looked out in our previous post. The toothbrush dappled effect worked really well with the gold paint, especially against the teal background. We found it difficult to get a strong colour on the eggs with a water/food colouring mix so ended up tipping the liquid food colouring directly onto the eggs! Maybe try stronger paste colours next year..

Hope you all had a good weekend. Just going to tuck into some of my remaining chocolate stash! Oh and check out the eggs hanging on the branch, it makes a really nice centrepiece to your Easter table.

DIY Chocolate Easter Egg

Whether you’re in the mood for a never-ending chocolate Easter egg, or are super keen and organised and you are already planning next year’s event – re-using your plastic egg packaging is a great way to make unique home-made eggs which are not only cheap, but also beautiful.

SONY DSC

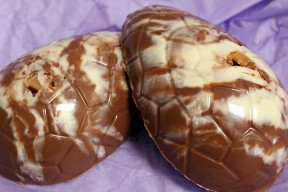
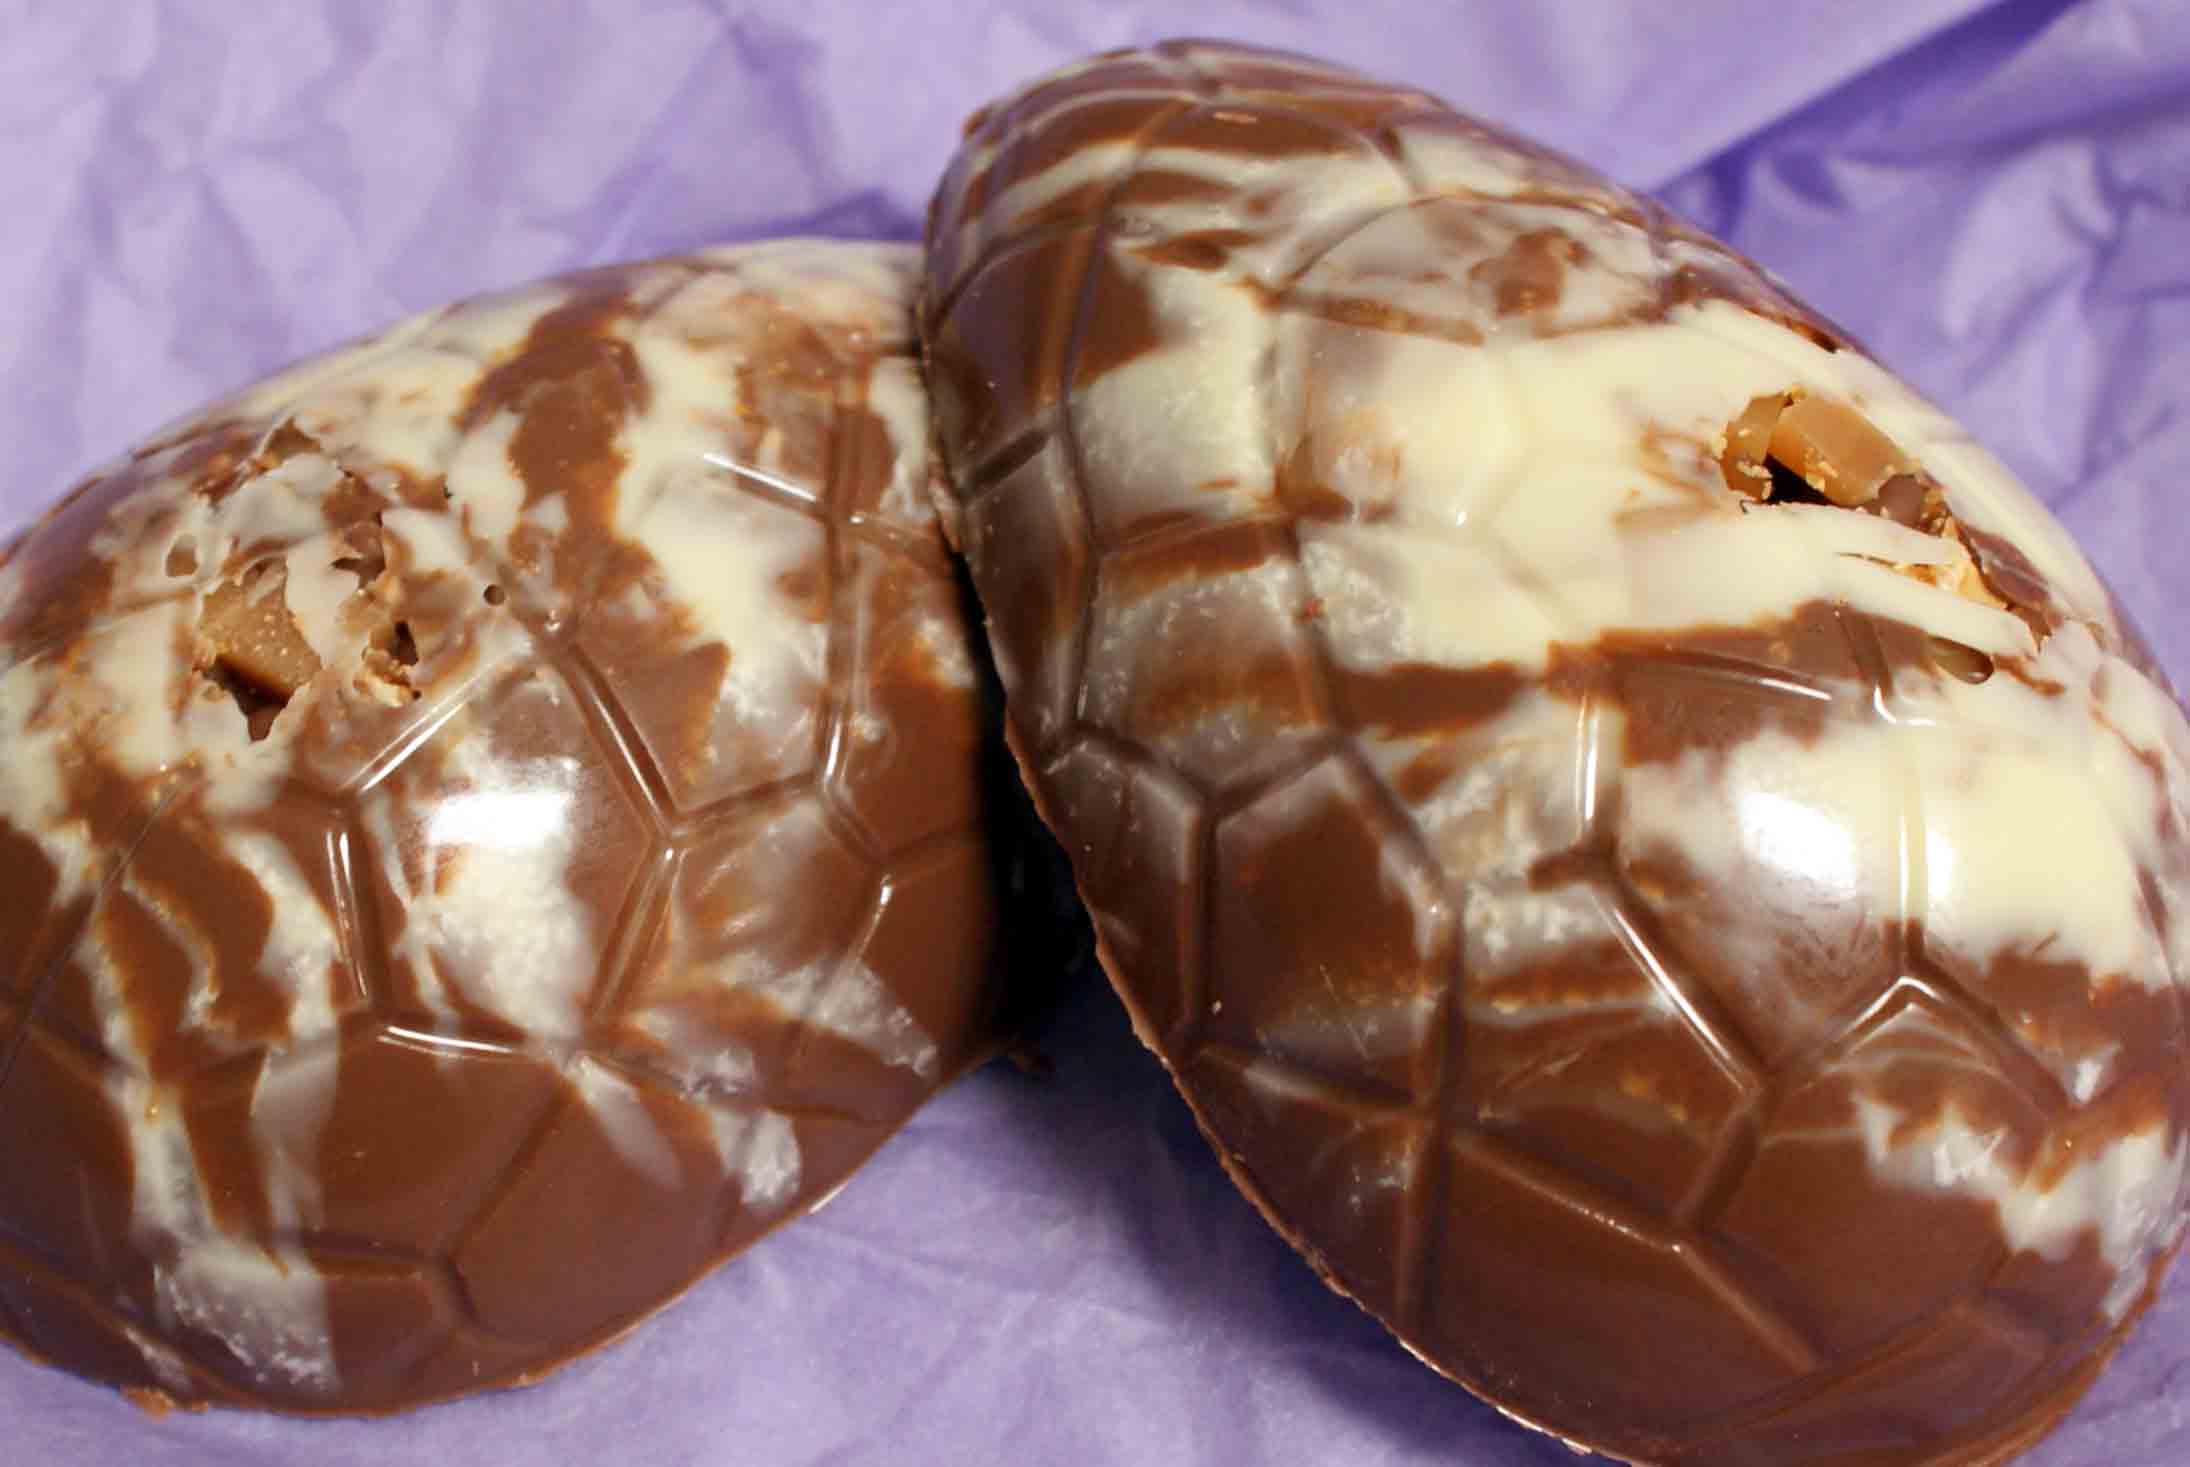
Fudge and peanut brittle egg

egg steps copy

You will need:

Egg mould(s)

Your favourite chocolate

Fillings – we experimented with nougat, fudge, peanut brittle, orange and popping candy


Instructions:

Prepare all the fillings

Melt white chocolate in a bowl over simmering water, and drizzle into the mould. At this stage you will achieve a marble effect, leave until the end if you want to make it more prominent.

Scatter the fillings

Melt the milk or dark chocolate. Have a look at this BBC good food article about tempering your chocolate for a really good result: http://www.bbcgoodfood.com/blog/654-how-to-temper-chocolate/

Fill the mould halves with the melted chocolate. If you are able to, clamp the mould halves together and gently rotate as the chocolate starts to cool, then flip every 5 minutes or so. We had separate halves so we cheated by rotating the moulds and also encouraging the chocolate up the sides with a spoon.

Put in the fridge and allow to fully set.

Take out from fridge and gently remove from the mould. If the halves are separate, use some fresh melted chocolate and a spatula to join the two halves.

Add any additional decorations, then present!
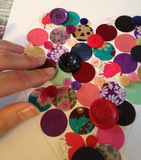
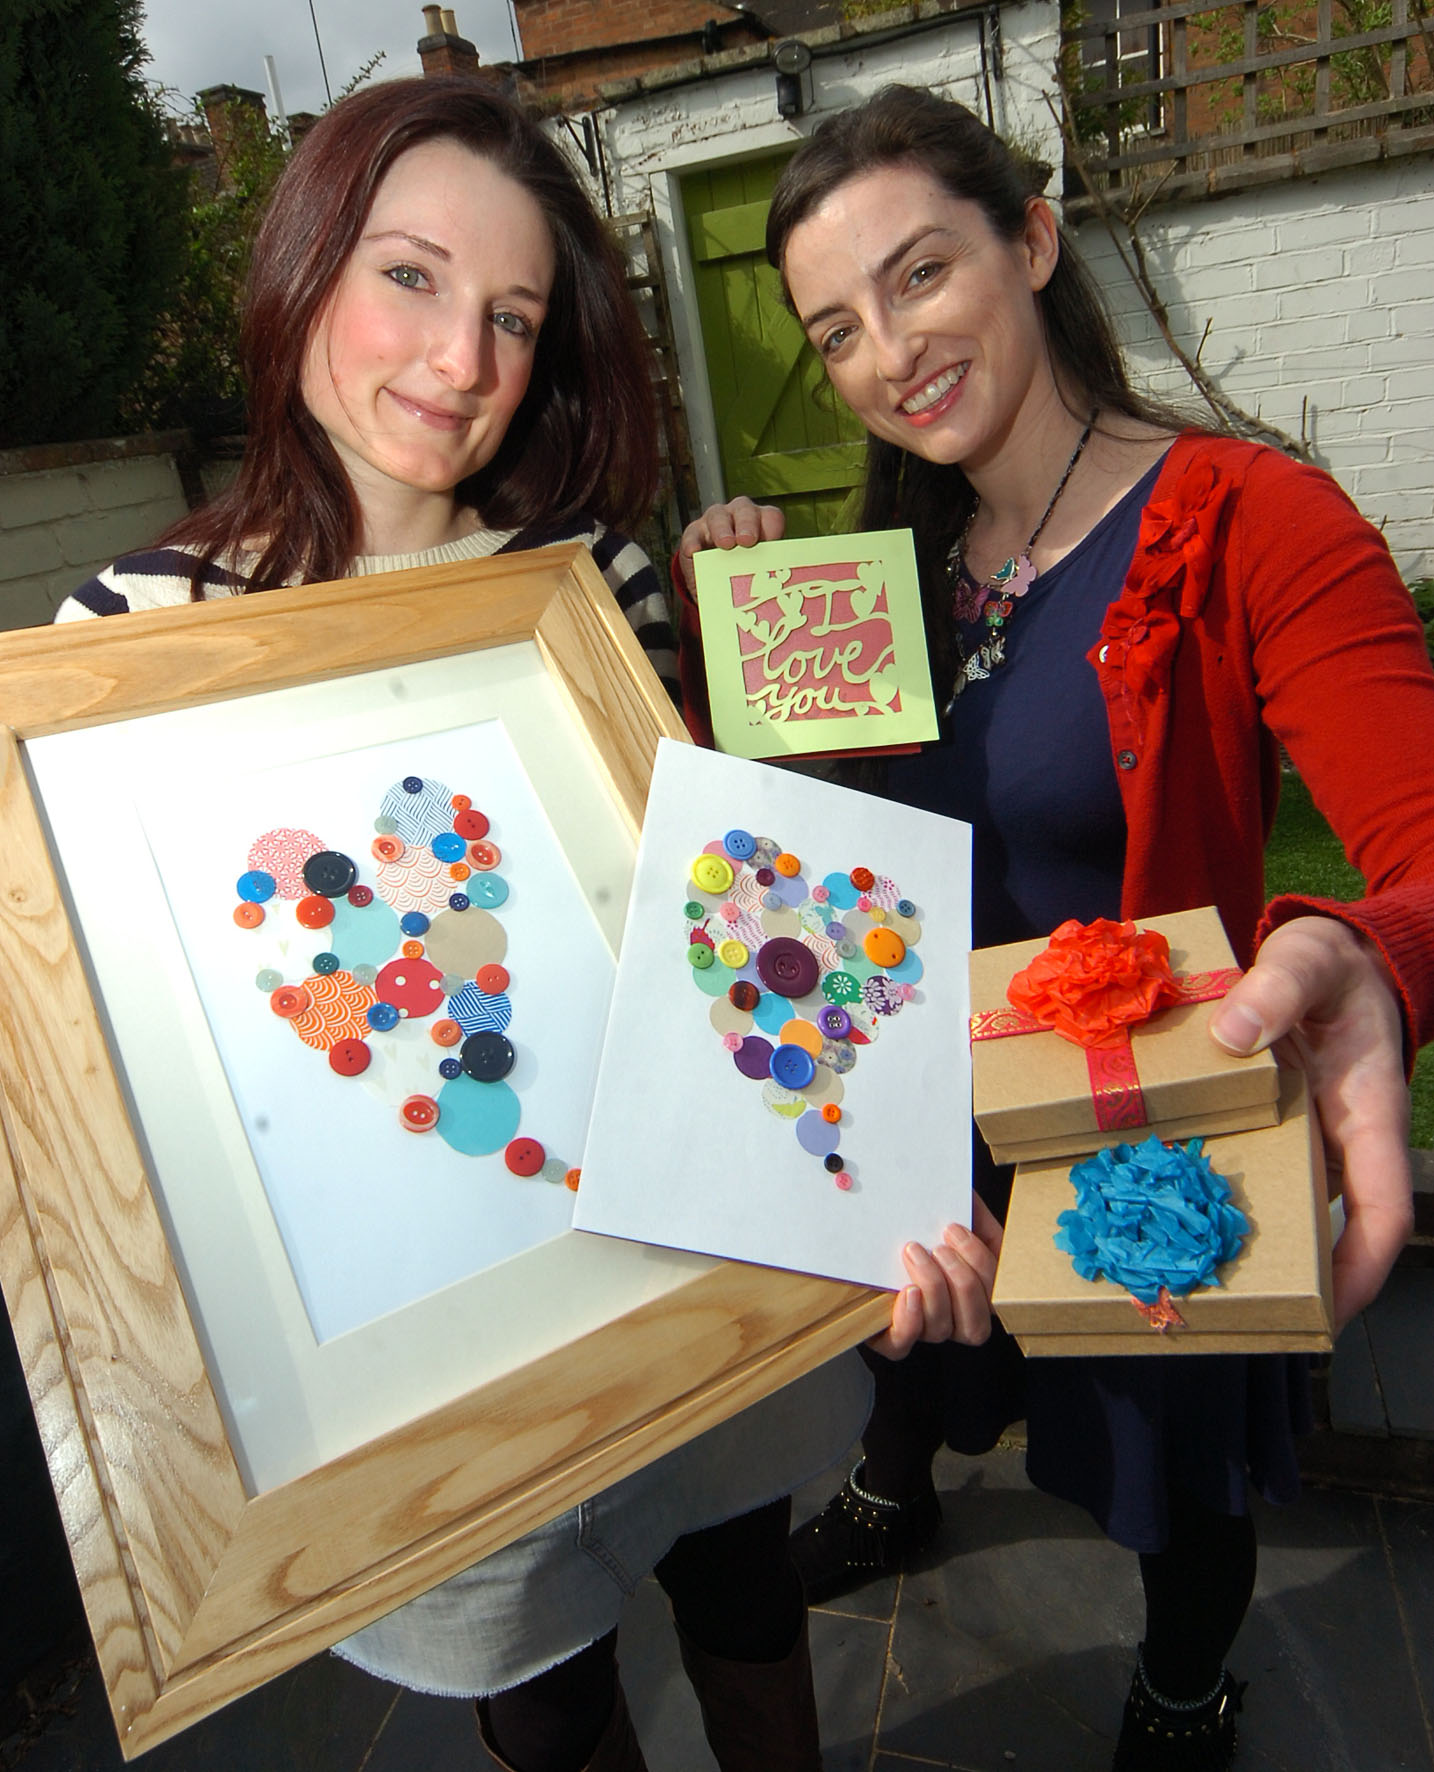
Easter egg painting

Hurray! Easter is next weekend and we’re changing the clocks to herald the start of Spring! With snow on the ground and freezing temperatures grrr! I’m definitely sick of all this white stuff now and am looking forward to searching in the back of the wardrobe, digging out my flipflops and heading out for evening barbecues and lazy afternoons in the park. Seems like a long way away at the mo but we can at least enjoy some Easter crafting in the meantime while we’re awaiting the sun!

We’ve been perusing Pinterest for some easter egg painting inspiration and have found a couple of simple, really pretty ideas. The first one uses tea bags and food colouring to dye the eggs, then to achieve the speckled effect you grab some brown paint and a toothbrush and dab away. You can click through for the full tutorial.


We love the marbled look of these painted eggs, we were really surprised when we looked at the tutorial and pretty much all you need is olive oil, food colouring and vinegar! You don’t need a fancy kit to blow the eggs – just pierce a small hole in the top and bottom of the egg with a cocktail stick and blow gently through the top hole until the eggy bits all come out.


Happy painting! You’re never too old to enjoy some egg painting we say ;)